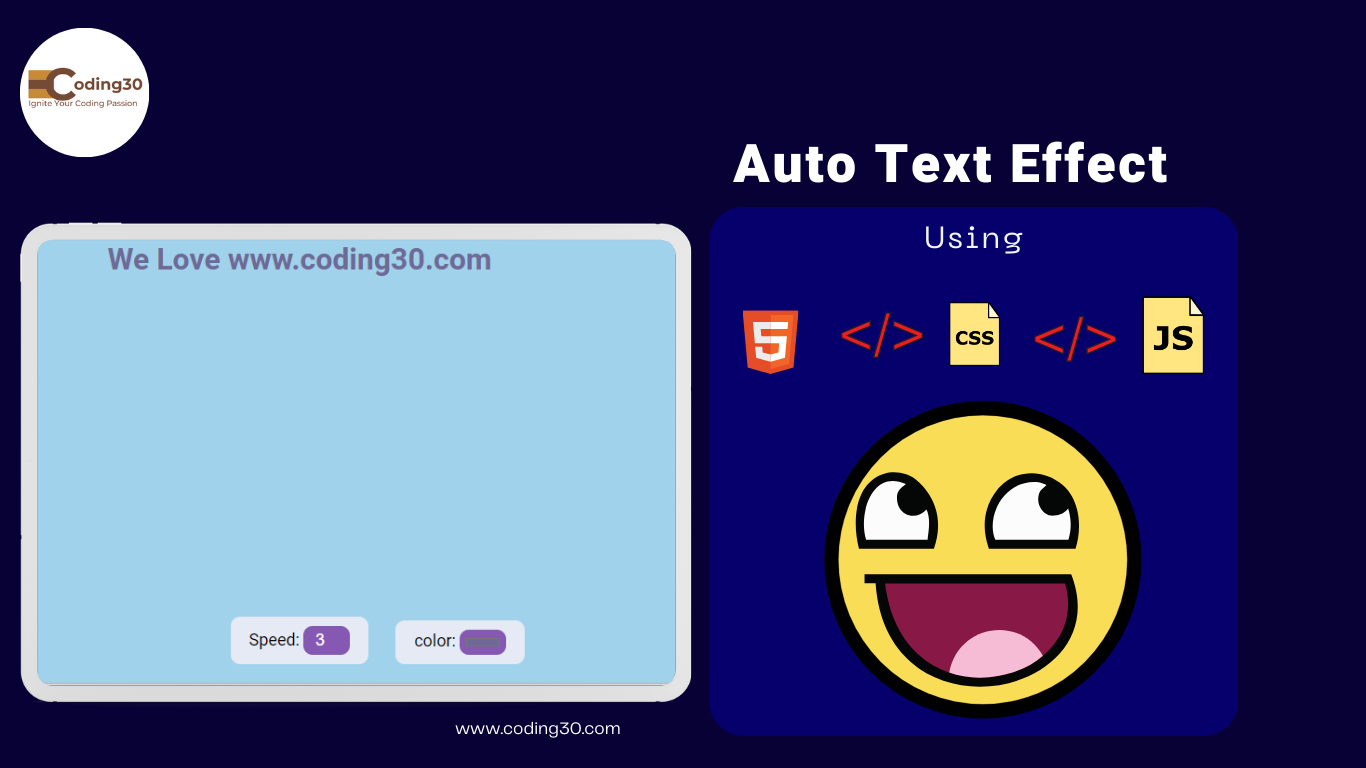
Introduction:
The auto text effect, created using HTML, CSS, and JavaScript, is perfect for enhancing user engagement on websites by dynamically displaying text.
There are some examples of auto text effects.
- Welcome Messages: Greet users with an animated introduction.
- Product Descriptions: Highlight key features or benefits one by one.
- Loading Screens: Provide a visually appealing loading indicator with changing messages.
- Interactive Tutorials: Guide users through steps with an engaging text reveal.
- Animated Headlines: Catch attention with dynamic, changing headlines on landing pages.
1. Create index.html file:
- Link all javascript and CSS files to HTML
- In the index.html file, we create two div elements: one for speed text and one for changing text color.
Code Block Example
This is the index.html file code
            <!DOCTYPE html>
            <html lang="en">
                <head>
                <meta charset="UTF-8" />
                <meta name="viewport" content="width=device-width, initial-scale=1.0" />
                <link rel="stylesheet" href="style.css" />
                <title>coding30 |Auto Text Effect</title>
                </head>
                <body>
                <h1 id="text">Starting...</h1>

                <div id="speed_div">
                    <label for="speed">Speed:</label>
                    <input type="number" name="speed" id="speed" value="1" min="1" max="10" step="1">
                </div>

                <div id="color_div">
                    <label for="speed">color:</label>
                    <input type="color" name="color_id" id="color_id">
                </div>

                <script src="script.js"></script>
                </body>
            </html>
2. Create style.css file:
- Create the CSS file and name it style.css, then save it.
- And then link the style.css filt to index.html like this <link href="style.css" rel="stylesheet">
- In this code, CSS is mainly used for giving background color and styling div elements.
This is the style.css file code
        @import url('https://fonts.googleapis.com/css2?family=Roboto:wght@400;700&display=swap');

        * {
            box-sizing: border-box;
        }

        body {
            background-color: #a0d2eb;
            font-family: 'Roboto', sans-serif;
            display: flex;
            flex-direction: column;
            align-items: center;
            justify-content: center;
            height: 100vh;
            overflow: hidden;
            margin: 0;
        }

        #speed_div {
            position: absolute;
            border-radius: 10px;;
            bottom: 20px;
            background: #e5eaf5;
            padding: 10px 20px;
            font-size: 18px;
        }

        #color_div {
            position: absolute;
            border-radius: 10px;;
            bottom: 20px;
            background: #e5eaf5;
            padding: 10px 20px;
            font-size: 18px;
            margin-left: 18%;
        }

        input {
            width: 50px;
            padding: 5px;
            font-size: 18px;
            background-color:  #8458B3;
            border-radius: 10px;
            color: white;
            border: none;
            text-align: center;
        }

        input:focus {
            outline: none;
        }
3. Create script.js file:
- Create the .js file and name it script.js, then save it.
- And then link the script.js filt to index.html like this <script src="script.js"></script>
- In this code, the script.js file is used to control the text speed, change the div color, and move the text.
This is the script.js file code
        const textEl = document.getElementById('text')
        const speedEl = document.getElementById('speed')
        const color_id = document.getElementById('color_id');
        const text = 'We Love www.coding30.com!'
        let idx = 1
        let speed = 300 / speedEl.value


        color_id.addEventListener('input', () => {
            const selectedColor = color_id.value;
            textEl.style.color = selectedColor;
            });

        writeText()

        function writeText() {
            textEl.innerText = text.slice(0, idx)

            idx++

            if(idx > text.length) {
                idx = 1
            }

            setTimeout(writeText, speed)
        }


        speedEl.addEventListener('input', (e) => speed = 300 / e.target.value)
Preview...
